
Red Hat 8 How to Set Up Automatic Updates for CentOS 8
The best thing you can do for your data and machine is to keep them secure. It can be as easy as turning on updates. However, most people using CentOS 8 don’t know how to do that.
In this article, you are going to learn how to enable automatic software updates on CentOS 8 Linux machine. You are going to learn how to set up your system such that you won’t need to manually install security and other updates.
On this page
Set Automatic CentOS 8 Updates Using Automatic RPM Package
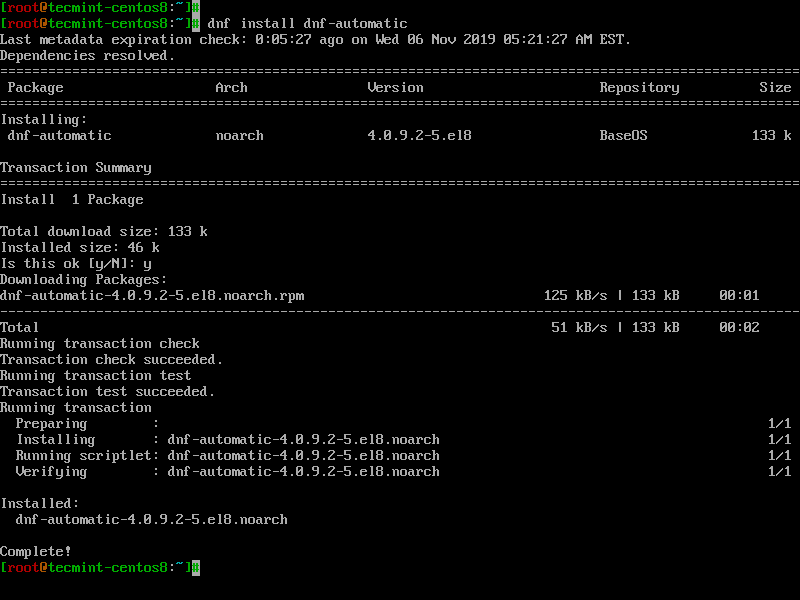
The first thing is to install the DNF-automatic RPM package. The package provides a DNF component that starts automatically. To install it, use the following command.
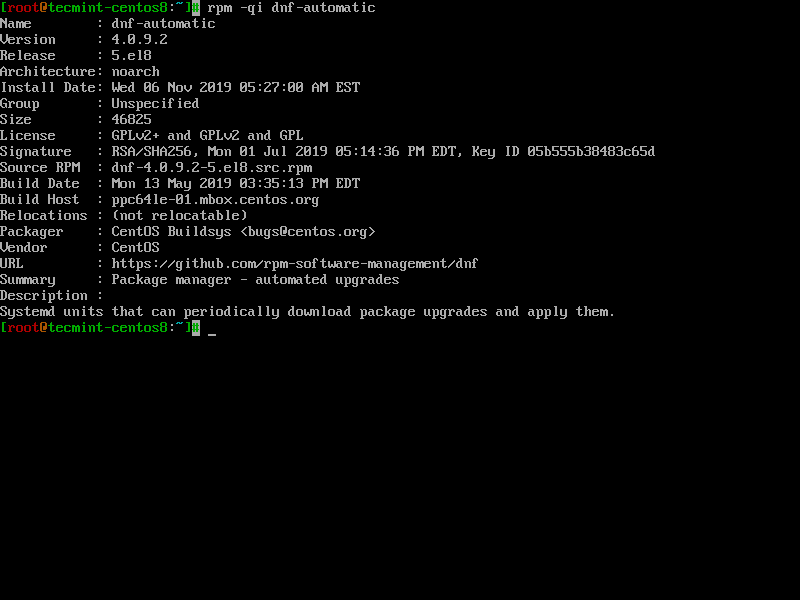
You can get more details on the package using the rpm command.
Next up is configuring the dnf-automatic updates. The configuration file is located at /etc/dnf/automatic.conf. Once you have opened the file, you can to set the required values to fit your software requirements.

A configuration file looks like the following.
You can set dnf-automatic to only download new updates and alert you via email, but this means you will have to install updates manually. To enable the feature, disable apply_updates in the configuration file.
Proceed to set the alert method.
Finally, you can now run dnf-automatic, execute the following command to schedule DNF automatic updates for your CentOS 8 machine.

The command above enables and starts the system timer. To check the status of the dnf-automatic service, run the following.

Set Automatic CentOS 8 Updates Using Cockpit Web Console
The CentOS 8 has a pre-installed Cockpit, which allows the system admin to manage tasks from a web-based console. You can use Cockpit to update the operating system as well as the software.
If Cockpit is not installed, you can install it using our guide: How to Install Cockpit Web Console in CentOS 8.
To do this, log into Cockpit with an admin account by way of https://SERVER_IP:9090 (Where SERVER_IP is the IP address of your CentOS 8 server. Once you’ve logged in, click Software Updates in the left navigation.
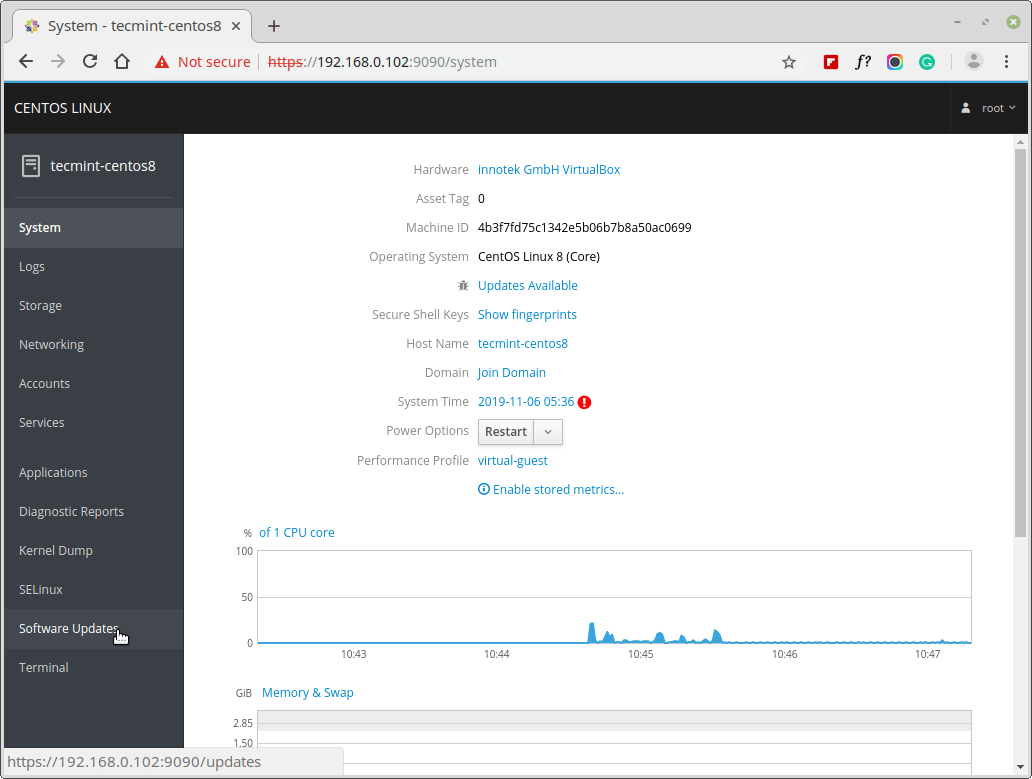
In the next window, turn automatic updates ON. You can now select the type of updates you want (Apply All Updates or Apply Security Updates), the day and time you want the updates applied, and the server rebooted.

Note that you cannot set up automatic updates without rebooting the system. Therefore, make sure your server can be rebooted at the time you’ve selected for the updates.
Conclusion
In this article, you have learned how to set up automatic updates for your CentOS 8 machine. There are two ways you can do this. The first method is by using DNF automatic updates. The main advantage of enabling DNF automatic updates on CentOS 8 Linux is that your machines get updated faster, uniformly, and frequently as compared to manual updates.
This gives you more leverage against cyber-attacks. The second method is by using the Cockpit web console. With Cockpit, it’s easy to enable automatic updates since you use the graphical user interface (GUI) as opposed to the DNF automatic updates, which use the command-line interface (CLI).
